


Cycling shorts can make or break your ride. Common problems like chafing, poor fit, and padding wear can lead to discomfort or even injury. But the right gear, proper care, and a few simple fixes can keep you comfortable and focused on the road.
Key Takeaways:
- Chafing: Use chamois cream, adjust your saddle, and wash your shorts regularly.
- Fit Issues: Measure yourself accurately and choose shorts based on your riding style.
- Padding Wear: Replace shorts when the padding loses resilience or shape.
- Care Tips: Wash in cold water, avoid fabric softeners, and air dry indoors.
Quick Fixes:
| Problem | Solution | Prevention Tips |
|---|---|---|
| Chafing | Apply chamois cream | Use moisture-wicking fabrics |
| Poor Fit | Size up if between sizes | Measure waist, hips, and inseam |
| Worn Padding | Replace shorts immediately | Inspect padding after each ride |
| Hygiene | Wash after every ride | Avoid reusing unwashed shorts |
Invest in quality cycling shorts, follow these tips, and enjoy a smoother, more comfortable ride!
Everything you need to know about padded cycling shorts and ...
Preventing and Treating Chafing
Chafing can turn an enjoyable ride into an uncomfortable experience. Knowing what causes it and how to prevent it can make all the difference on long rides.
What Causes Chafing
Chafing happens when there's too much friction between your skin and your shorts, especially in areas like the inner thighs, buttocks, and groin. Here are the main culprits:
- Poor saddle fit: A saddle that's the wrong size or poorly positioned can create friction points.
- Moisture buildup: Sweat increases skin-to-fabric friction.
- Ill-fitting shorts: Shorts that are either too tight or too loose can lead to rubbing.
- Worn padding: Old or degraded chamois material loses its cushioning.
For comfort, about 40% of your weight should rest on the saddle, so positioning matters [3]. With this in mind, you can take steps to prevent chafing.
Best Anti-Chafing Methods
Follow these tips to reduce friction and stay comfortable:
-
Use Chamois Cream: Applying an anti-chafing cream before rides helps reduce friction. Here are some popular options:
Product Price Best For Chamois Butt'r Original $16 New riders with a mild formula DZNuts Pro $20 Saddle sore treatment Assos Chamois Cream $29 Long-distance rides -
Adjust Your Saddle: Use the 109% method to find the right seat height [1], and ensure the saddle is level and centered to minimize friction.
-
Care for Your Clothing: Wash your cycling shorts after every ride. Clean gear helps prevent sweat and bacteria buildup that can worsen chafing.
Managing Saddle Sores
If chafing leads to saddle sores - those red, tender spots caused by inflammation or infection - take these steps to recover:
- Stop riding to give your skin time to heal.
- Use antibiotic creams and warm compresses to treat the affected areas.
- Once healed, prevent future issues by regularly applying chamois cream and ensuring your bike fit is correct.
For severe or persistent cases, consult a doctor. Regular gear maintenance, proper bike adjustments, and good hygiene can help you avoid most chafing problems.
Getting the Right Fit
Signs of a Poor Fit
Here are some clues your cycling shorts might not fit properly:
- Bunching or rolling: Shorts that gather or roll at the legs are likely too loose.
- Tight waistband: If the waistband digs in or feels restrictive, it may make breathing uncomfortable.
- Seam pressure: Red marks from seams suggest the fit is too tight.
- Riding up: Shorts that keep sliding up during rides aren't staying in place.
- Compression issues: If the shorts feel overly tight, they might cause numbness or tingling.
How to Measure Yourself
Accurate measurements can help you find the right size:
| Measurement Area | How to Measure | Tips |
|---|---|---|
| Waist | Measure at the narrowest part of your torso | Stand upright for accuracy |
| Hips | Measure at the widest part of your hips | Keep the tape level around your body |
| Inseam | Measure from the crotch to your desired length | Stand while measuring |
If your measurements fall between two sizes, it’s better to size up for added comfort [2]. After determining your size, pick a style that fits your riding needs.
Choosing Shorts for Your Body and Riding Style
Different designs work better for certain body types and activities:
"Choose cycling shorts with gender-specific chamois for optimal comfort." [4]
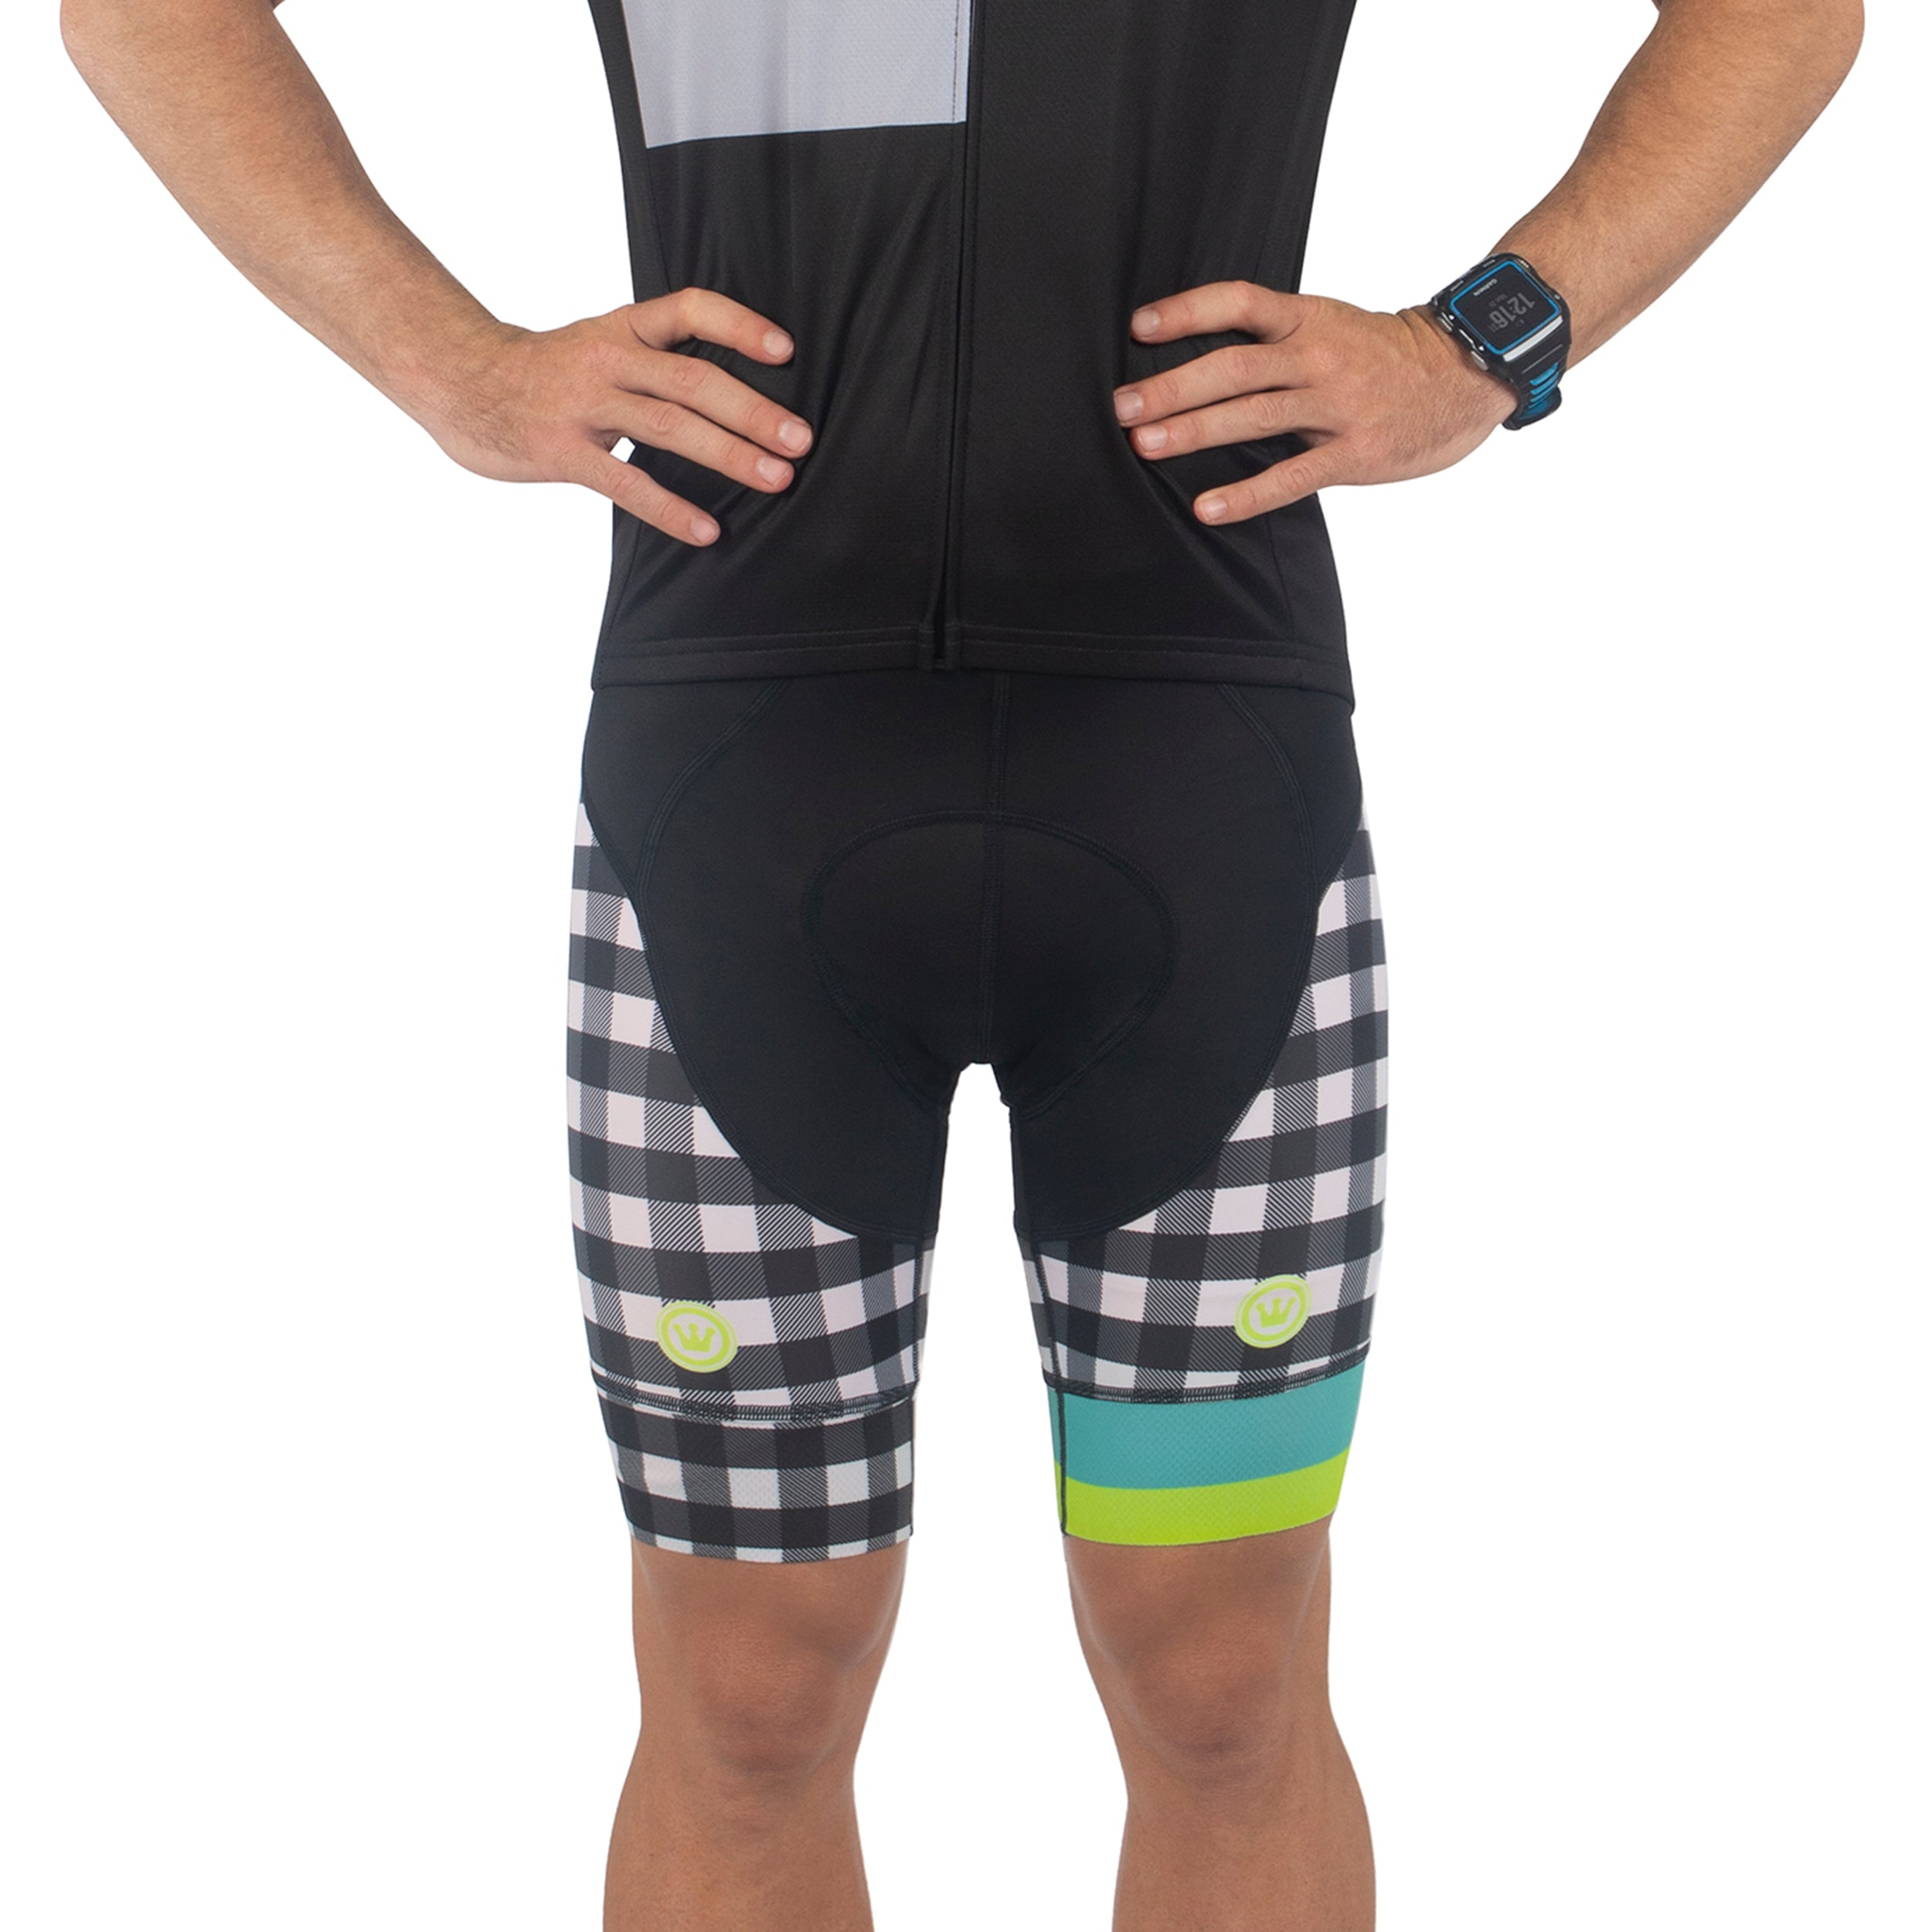
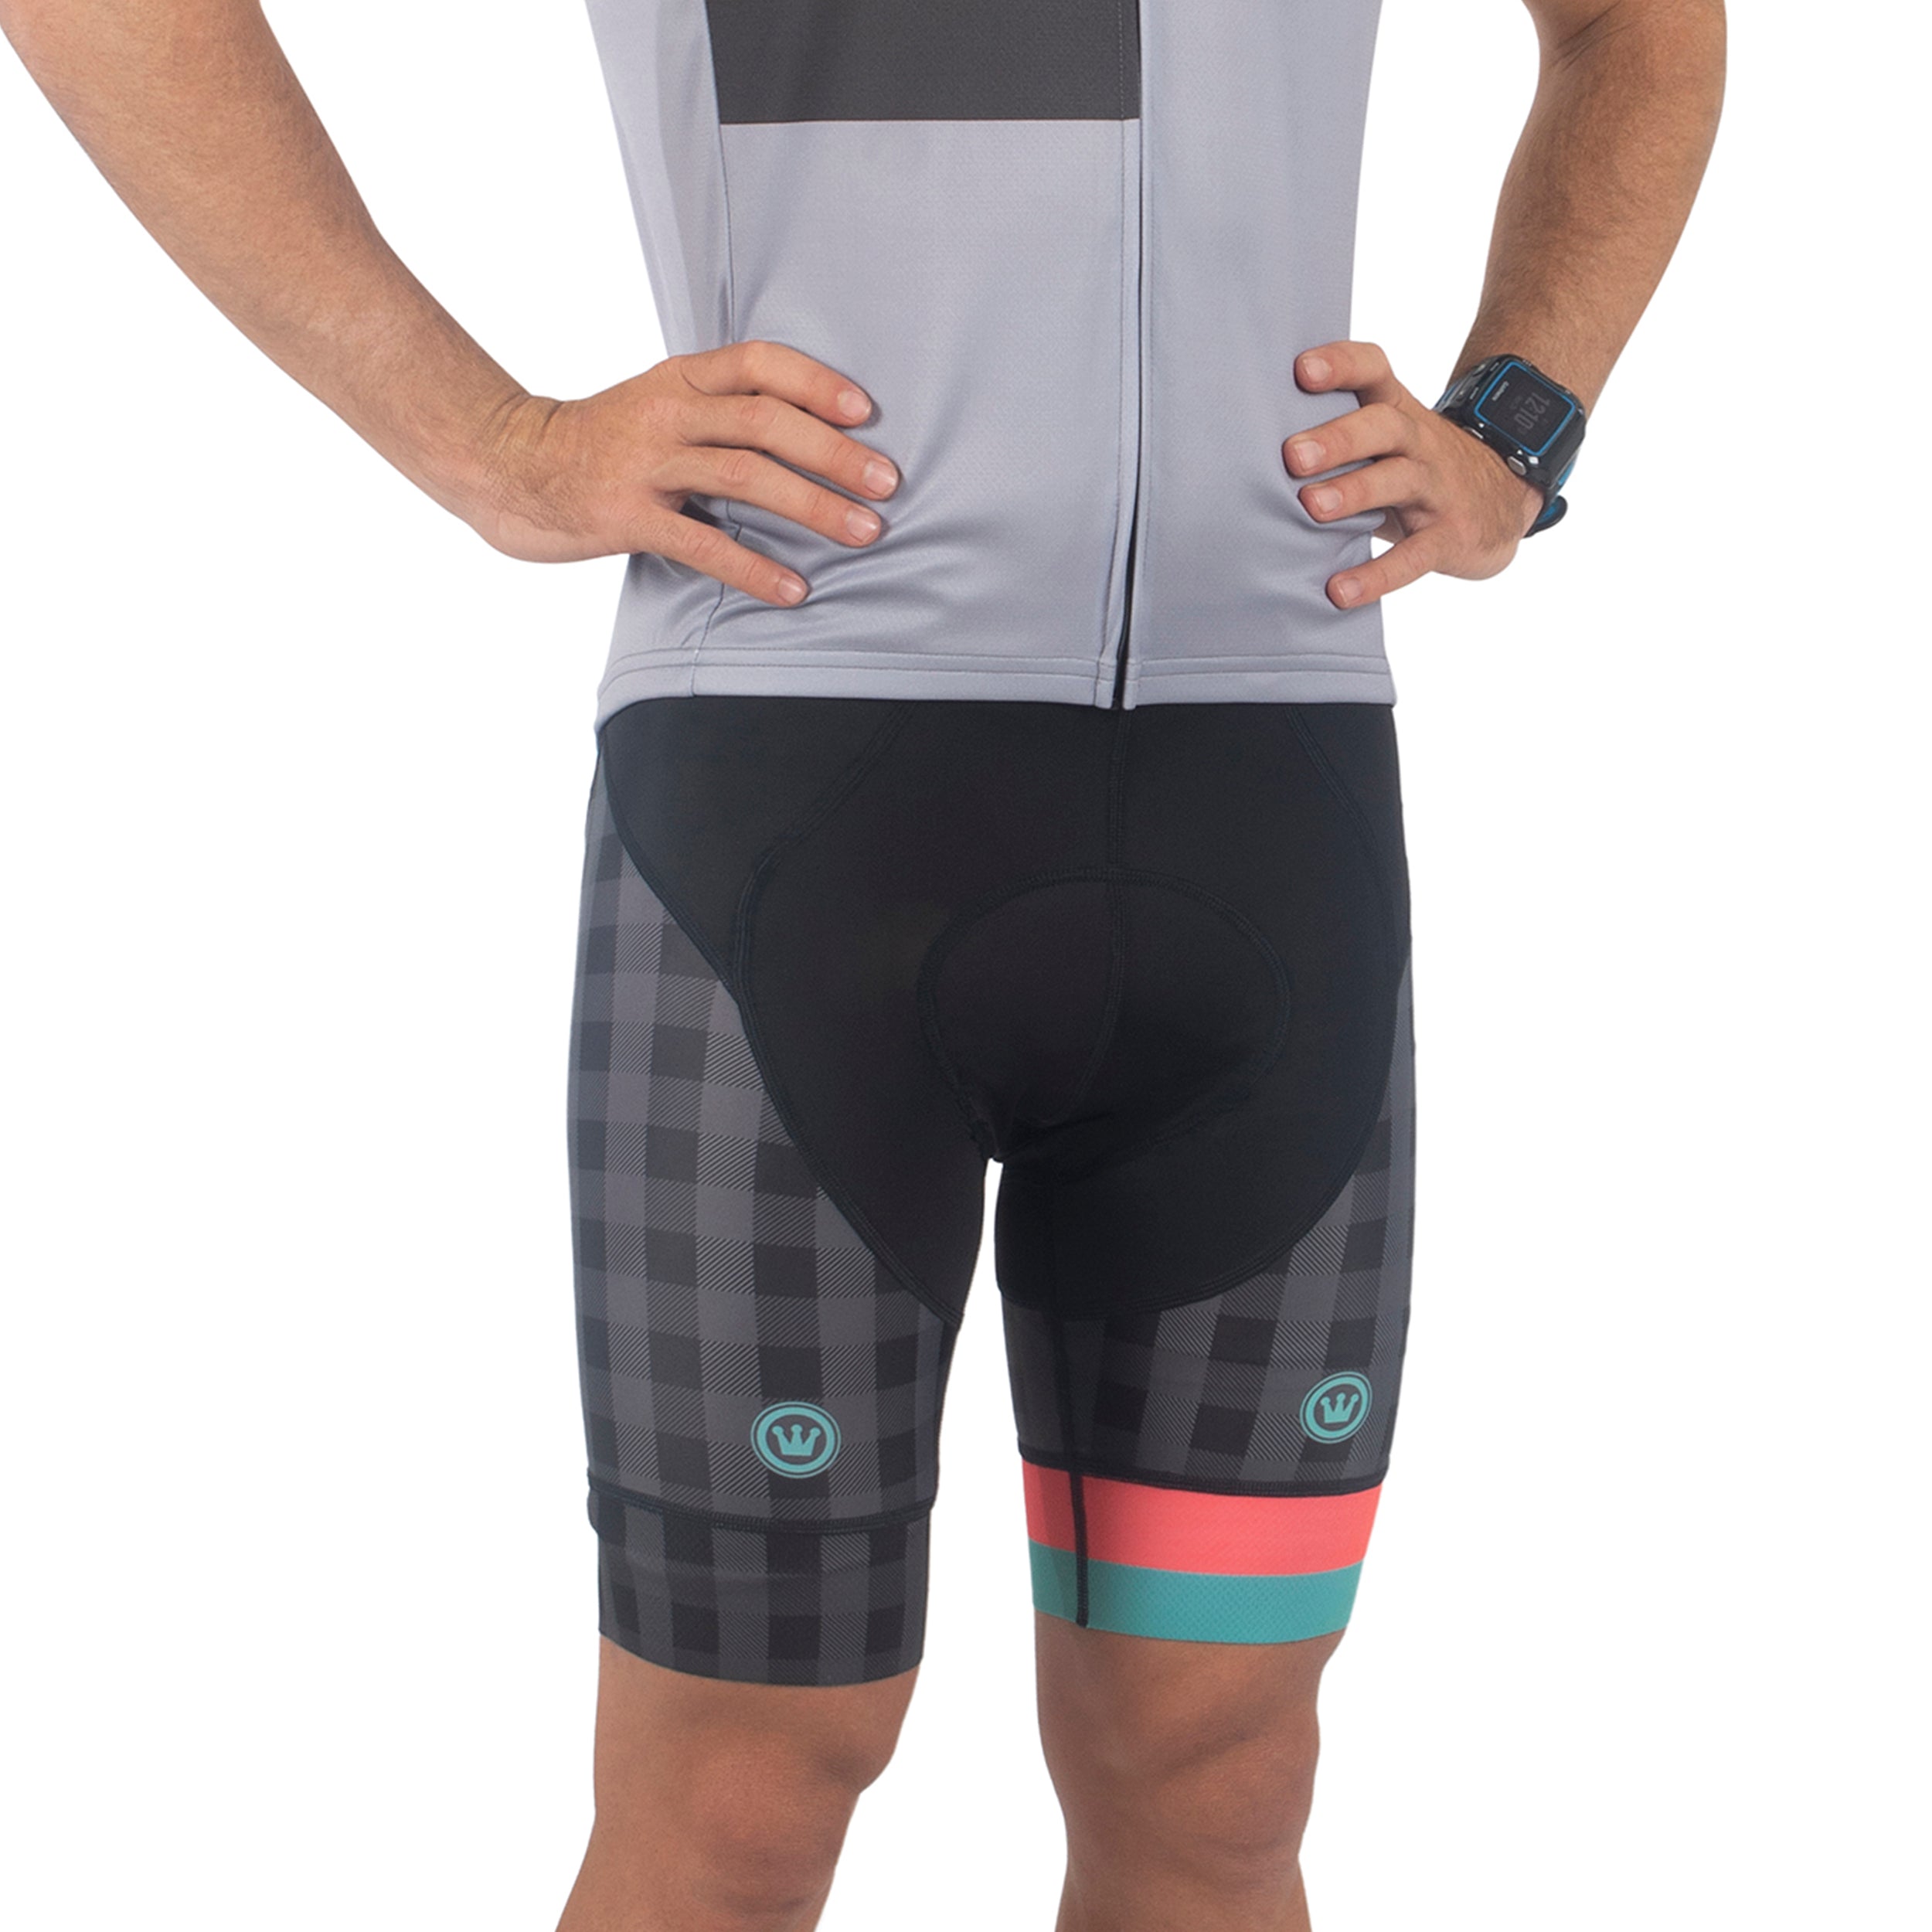
For Road Cycling:
- Snug-fitting shorts with dense padding for long rides.
- A higher back waistline to ensure proper coverage.
- Compression that supports muscles without limiting movement.
For Mountain Biking:
- A compression layer underneath looser, protective outer shorts.
- A relaxed fit that allows for better mobility.
For Triathlons:
- Shorts with a shorter inseam for easier movement.
- Lightweight, breathable fabric for better ventilation.
- Minimal padding designed for multi-sport activities.
If you’re just starting out, thicker padding might be more comfortable. Bib shorts can offer extra support but may need some adjustment during use [2].
sbb-itb-1992862
Choosing Proper Padding
Padding Materials and Types
Selecting the right chamois padding is crucial for a comfortable ride. Modern cycling shorts come with various padding densities and materials tailored for different riding needs:
- Single-density foam: Offers basic cushioning, suitable for rides up to 1 hour. It's a good choice for short commutes or casual cycling.
- Dual-density foam: Combines two foam layers of varying densities, providing better vibration absorption while maintaining a moderate thickness. Ideal for rides lasting up to two hours [5].
- Triple-density gel: The most advanced option, featuring a dual-density foam base with gel inserts. It delivers maximum vibration dampening, making it perfect for rides over three hours [5].
According to Giro, "Higher foam density (firmer feel) equates to more support because the foam will not compress as easily, which means it offers a more stable feel and greater comfort for longer rides and rigorous terrain."
When choosing padding, also consider the thickness based on your typical ride duration.
Padding for Different Rides
The thickness of the padding should match the type of ride you usually take:
| Ride Type | Recommended Padding | Best For |
|---|---|---|
| Short Commutes (< 1 hr) | 9mm single-density | Casual riding, frequent stops |
| Recreational (1–2 hrs) | 10–12mm dual-density | Smooth roads, moderate distances |
| Long Distance (2+ hrs) | 13–14mm triple-density | Extended rides, uneven or rough terrain |
For optimal comfort, ensure the padding is thicker at the center and tapers at the edges to reduce chafing while pedaling [6]. A firm chamois is better than one that feels overly soft, as excessive softness can increase pressure on sensitive areas.
Time to Replace Padding
You should replace your cycling shorts’ padding when you notice:
- Loss of resilience: Padding no longer bounces back, leading to increased soreness.
- Deterioration: Frayed edges that may cause chafing.
- Position issues: Padding that folds or shifts during rides.
- Shape changes: Permanent deformation or thinning.
The padding’s effectiveness often diminishes before visible wear becomes apparent. If you're feeling discomfort despite proper fit and riding technique, it’s likely time for a new pair of shorts.
According to Giro, "It is important to consider the intended use (the type of riding you do, the duration and the intensity) because these factors determine how the foam will be shaped, where the chamois pad is placed and the appropriate density and thickness to properly support your position on the saddle."
Even the best-quality padding will wear out with regular use. Regularly inspect your shorts and replace them as needed to maintain comfort and protection on your rides.
Care and Maintenance
Washing Instructions
Keep your cycling shorts in top condition by following these washing tips:
Machine Washing:
- Use cold water on a delicate or sport cycle.
- Set the spin speed to no more than 800 rpm.
- Turn the shorts inside out and place them in a protective bag.
- Use a mild detergent designed for sportswear.
- Avoid fabric softener and bleach at all costs.
"DO care for your shorts as the high performance gear they are. The fact that you can throw them in the wash without regard doesn't mean that you should." - Nikwax NA [7]
Hand Washing (If Machine Washing Isn't an Option):
- Soak the shorts in cold water with a mild detergent for about 15 minutes.
- Gently agitate the water to clean the fabric.
- Rinse thoroughly with cold water.
- Squeeze out excess water carefully - never wring.
If you're unable to wash them right away, rinse sweaty shorts with cold water and let them air dry to prevent odors and bacteria from setting in.
Drying and Storage
After washing, drying and storing your shorts correctly is just as important:
- Hang them to air dry indoors or in the shade.
- Turn them inside out while drying.
- Store them in a cool, dry place once they're completely dry.
Modern cycling shorts are designed to dry quickly when hung properly. Avoid direct sunlight, as it can fade colors and weaken the fabric. Choose a well-ventilated indoor spot for drying [8].
When to Buy New Shorts
Here are some key signs that it might be time to replace your cycling shorts:
| Warning Sign | What to Check | Time to Replace When |
|---|---|---|
| Fabric Issues | Elasticity and opacity | Fabric becomes see-through or loses stretch |
| Pad Wear | Reduced cushioning | Padding feels thin or stiff |
| Fit Changes | Body adherence | Shorts no longer stay in place while riding |
| Gripper Wear | Band elasticity | Leg grippers lose their grip |
"When the pad loses its thickness/density due to extensive use and cannot protect you anymore, it's time to change the garment." - Alé [9]
"As the yarn loses its elasticity and return, the fabric will also start to feel looser, less stretchy. You can often see the elastane turning lighter, before finally breaking and showing as a loose white yarn on the fabric surface. It's definitely time to replace if this happens!" - Graeme Raeburn, Rapha [9]
Inspect your shorts regularly after washing to catch these signs early. Replacing them before comfort or performance suffers is always the best move.
Conclusion
Problem-Solving Tips
Here’s how you can tackle common cycling shorts issues effectively:
| Problem Area | Solution | Prevention Tips |
|---|---|---|
| Chafing | Use chamois cream | Ensure proper fit, choose moisture-wicking fabrics |
| Fit Issues | Size based on riding position | Take regular measurements |
| Padding Wear | Replace when padding compresses | Wash after every ride |
| Hygiene | Wash after every ride | Never reuse unwashed shorts |
These tips can help you choose and maintain gear that performs well and keeps you comfortable.
Choosing Quality Shorts
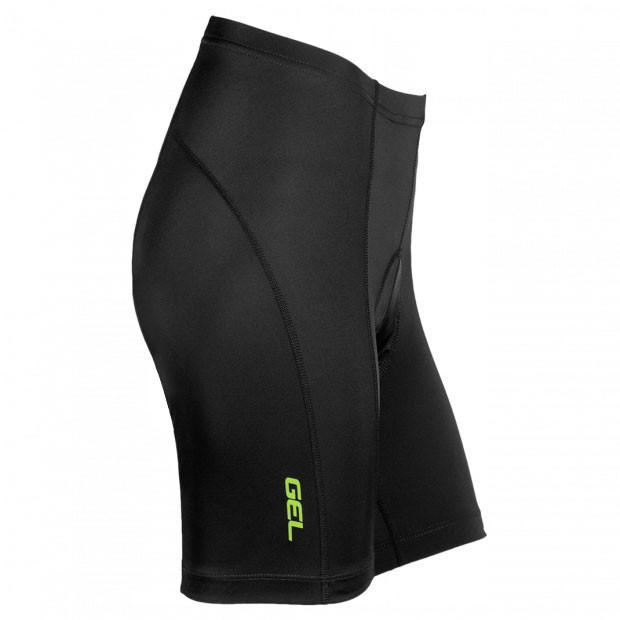
The Canari Velo Gel Short stands out with features like:
- MT PRO fabric (82% Nylon/18% Spandex) for moisture control
- 8-inch inseam and flat seams for a smooth fit
- A gel-fill system for even pressure distribution
- Double-banded leg grippers to keep them securely in place
"The shorts must be washed after every ride, and possibly within a short time because sweat is the enemy of the textiles." - Guido Zago from EIT-Elastic Interface [9]
Investing in quality shorts ensures they feel like a second skin and provide consistent protection. Pair that with proper care and timely replacements to enjoy long-lasting comfort.

